Have you ever been unhappy with a difficult bathtub drain stopper that disrupted your plans for a relaxing soak? Finding the secrets of removing a bathtub drain stopper might be the key to solving this common problem.
Many of us have experienced the difficulty of a blocked or broken drain stopper, which prevents water from draining properly, or issues with the fun of taking a bath. In this article, we will go through the simple steps of removing a bathtub drain stopper, giving you the information and confidence to complete the task independently.
Each kind has its challenges, from lift-and-turn stoppers to toe-touch types, but don't worry - we've got you covered. Come with us as we simplify removal of bathtub drain stopper, allowing you to restore your bathroom paradise and enjoy the peacefulness you deserve. Say goodbye to drain-stopper problems and welcome to a smooth-flowing bathing experience.
Learning to remove and maintain a push-pull, pop-up, toe-touch, or flip-it drain stopper gives you control over your bathroom setting. With these ideas, you may handle common drain difficulties and increase the life of your drain stoppers, resulting in a simple and cool bathing experience.
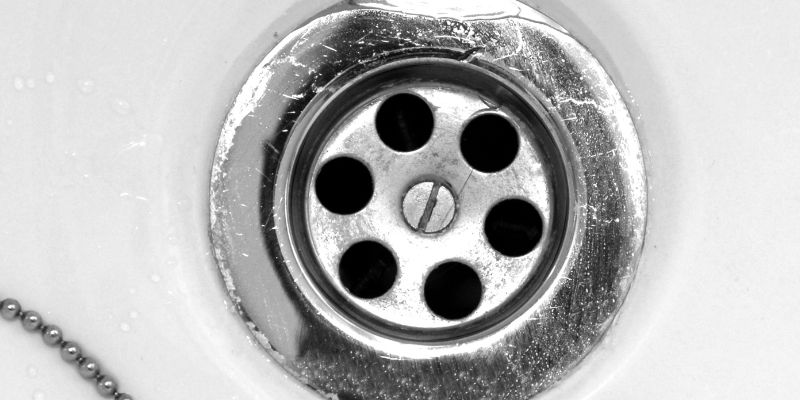
To open or close the toe-touch tub stopper, which is circular and flat with no tabs or knobs, touch it with your toe. To adjust this stopper, place it in the "open" position, similar to a draining tub.
Depending on the design, some toe-touch stoppers have a top cap that unscrews from a base cylinder broken into the filter's crossbar, while others have a single unit attached to the crossbar. Hold the cylinder's base and turn the top cap counterclockwise to remove it.
If the whole unit rotates, unscrew the cylinder base and proceed until the unit is completely removed. Before unscrewing the cylinder base, turn the stopper's top cap counterclockwise. In some cases, a normal flathead screwdriver may be required to remove the cylinder from the strainer crossbar.
To remove the drain stopper, rotate the knob counterclockwise to unscrew the bolt. Then, use a screwdriver or pliers to unscrew the bolt from the threaded hole in the center of the crossbar. The complete lift-and-turn stopper may now be removed from the drain.
This allows you to inspect the stopper for any obvious damage, such as torn plugs, weak threads, or a broken lid. If you see any damage, replace the stopper.

A push-pull drain stopper is identified by its top knob, which is pushed down to close the drain and pulled up to open it. It is easily removable for maintenance or replacement. For the removal of easy drain stopper follow these steps.
Start with the stopper open and remove the knob from the stopper base. Shut the stopper to reveal the center, and use pliers or a flathead screwdriver to loosen the slotted screw inside by rotating it counterclockwise. Get the stopper from the drain. These simple steps make removing and cleaning or replacing the push-pull drain stopper easy.
Follow these simple steps to remove a tub drain's pop-up stopper. To open the stopper, rotate the top lid or move the release button. Next, pull the pop-up stopper or move the rocker arm back and forth while pulling up. Lift stoppers with a rocker's arm just enough to clear the drain before sliding them horizontally away.
Place a clean towel at the drain's bottom to avoid damaging the tub. Given how dirty this process may be because of accumulated hair and debris, having a bag on hand to collect pieces is a good idea, making the workspace clean and preventing tub damage.

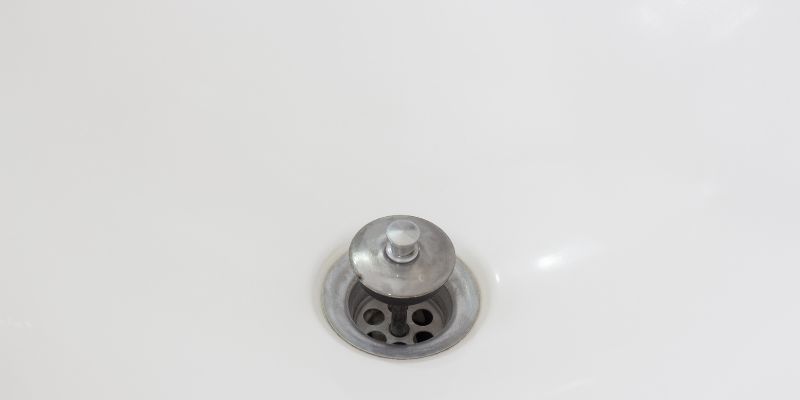
A lift-and-turn drain stopper, known by its threaded knob, allows you to control whether the drain is open or closed by turning it left or right. Unlike the fixed knob on a push-and-pull stopper, the lift-and-turn knob may be unscrewed from the central bolt, which is a unique characteristic of this kind. Turning the knob counterclockwise opens the drain; moving it clockwise closes it.
If the knob cannot be removed, you must turn the whole lid to reach the central bolt. It's important to note that while many stoppers have threaded connections to the bolt, some kinds have twist locks. If you come across one of these, rotate the stopper lid until it is properly aligned, then lift the lid to remove it.
Flip-It drain stoppers use a flip lever to adjust the cap for water flow or sealing and may be removed without tools. Turn the handle to expose the drain, then remove the unit. After removing the stopper, check it for wear, damage, or collected debris, paying special attention to the gasket, O-ring, and general condition.
If required, replace the stopper; otherwise, clean it and the drain with a bathroom cleaning solution before reinstalling it. This simple step helps to make sure your drain stopper is properly maintained.
Finally, mastering how to remove various bathtub drain stoppers allows you to fix the common problems connected with broken or blocked drains. From lift-and-turn stoppers to user-friendly toe-touch types, each provides a distinct difficulty that may be easily handled with the proper understanding.
Following the simple processes explained in this article, you may safely remove these stoppers, keeping your bathtub an easy shelter for relaxation. Accept the simplicity of these methods, say goodbye to drain-stopper issues, and welcome a smooth and joyful bathing experience.

By Frederica/Feb 10, 2025

By Pamela Andrew/Apr 13, 2025

By Peter Evans/Mar 08, 2024

By Celia Shatzman/May 22, 2025

By Eleanor/Oct 29, 2024

By Triston Martin/Oct 29, 2024

By Frederica/Apr 27, 2024

By Triston Martin/Feb 11, 2024

By Eleanor/Feb 21, 2024

By Eleanor/Oct 17, 2024

By Frederica/Apr 20, 2024

By Vicky Louisa/Feb 19, 2025